DIY Paint Chip Calendar

Awesome DIY Paint Chip Calendar Tutorial “Fun & Creative DIY Paint Chip Calendar|
Paint chip crafts are fun and cheap. You can make a lot of DIY craft projects with these colorful swatches.
Keep track of your hectic schedule with this reusable dry-erase calendar that’s made out of paint swatches or paint chips! You’ll never have to buy a calendar again! This DIY project is super easy to make and will look perfect on any wall – in your kids’ room (or yours!) or the office! Yes, this also makes a great DIY home decor since it’s eye-catching and colorful.
DIY Paint Chip Calendar | Paint Chip Crafts
Read on and learn how to make this do it yourself, colorful, and convenient paint chip calendar below.
What You’ll Need for this Paint Chip Calendar Tutorial:
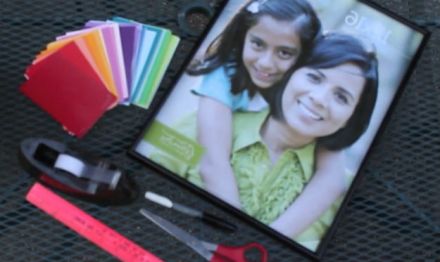
Foto por Leila [License CC Some Rights Reserved]
1 large 12? x 16? picture frame
35 paint swatches / paint chips (variety of colors)
scotch tape
scissors
ruler
dry-erase marker
Step 1
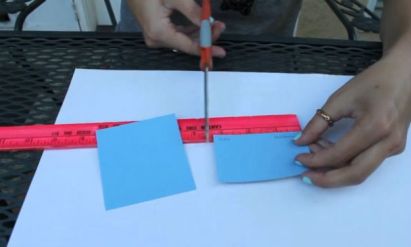
Foto por Leila [License CC Some Rights Reserved]
Open the frame and take out the paper (picture) inside. The blank side would make the perfect background for your calendar. Next, measure a piece of paint chip and cut it into a 3 and a quarter inches on each side square.
Step 2
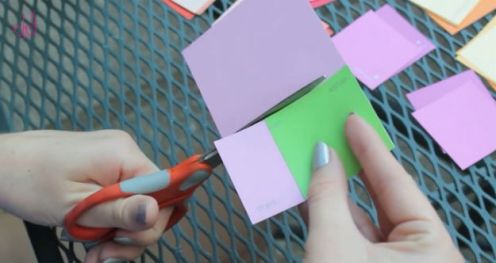
Foto por Leila [License CC Some Rights Reserved]
Now continue cutting until you have 35 paint chip squares.
Step 3
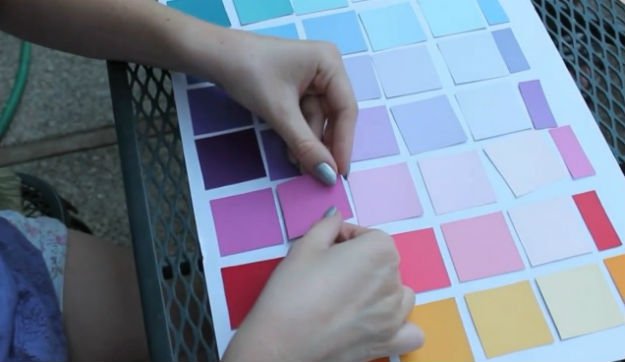
Foto por Leila [License CC Some Rights Reserved]
Lay out and affix the paint swatches to the board. Arrange them by placing 5 paint chip squares for each day. You can try different combinations or mixtures of colors.
Make sure you cut scraps into rectangles to label the days of the week at the top of your calendar. You can secure them on your background paper by rolling a piece of scotch tape at the back of each paint chips and sticking them firmly and you’re good to go!
Step 4
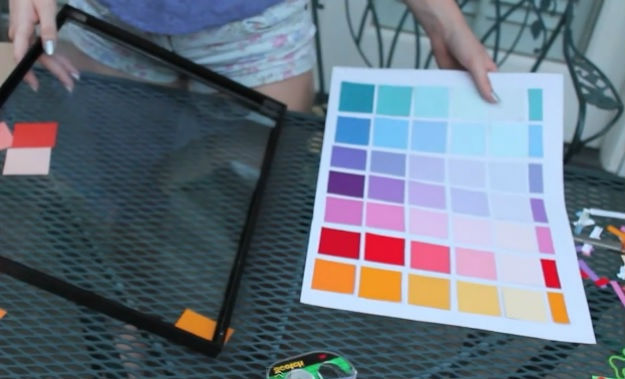
Foto por Leila [License CC Some Rights Reserved]
Once it’s secured, place it inside the frame.
Step 5
Finally, take your dry-erase marker and label your calendar. The glass of the frame acts like a dry-erase board so you can customize your calendar and change it every month!
And you’re done!
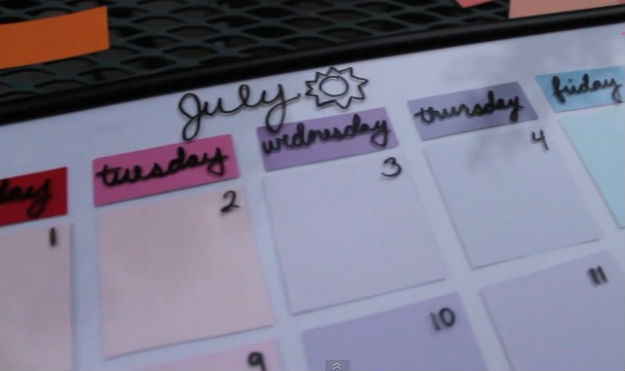
Foto por Leila [License CC Some Rights Reserved]
Alright! There you have it, you’ve just finished your cool DIY project – a fun and colorful paint chip calendar!
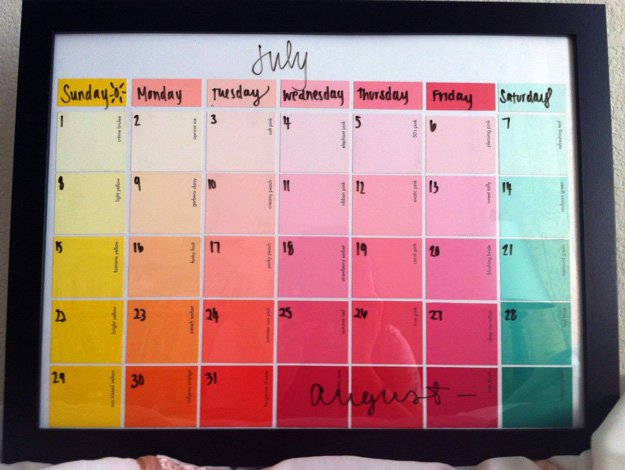
Foto por Leila [License CC Some Rights Reserved]
—>> https://www.youtube.com/embed/3bwSC9dGZP8“>Video Tutorial <<—
For more information you can access DIY Ready. Have Fun!

![]()
Related Posts

Warning: Trying to access array offset on value of type bool in /home/avunque/public_html/inf103.com/wp-content/themes/mesocolumn/lib/functions/theme-functions.php on line 502

Leave a Reply
You must be logged in to post a comment.