Long Exposure Photography?
The long exposure photography is a technique that involves using a long-duration shutter speed to sharply capture the stationary things of images while blurring, smearing, or obscuring the moving things.
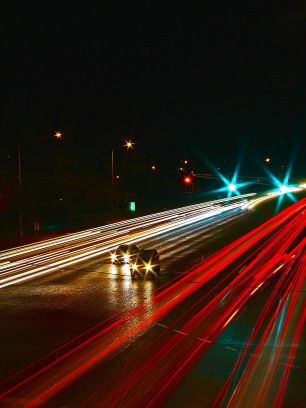
(Photo by Axel Santiago, License CC)
Step 1 – Use a tripod
Step 2 – Focus the subject and lock the focus. If you are using the autofocus mode, you should focus by half-pressing the shutter button, and once the focus has been made, while still holding down the shutter button halfway, turn off the Auto Focus to Manual. by doing that, your camera will maintain the focus.
Step 3 – Set the Aperture (Exposure)
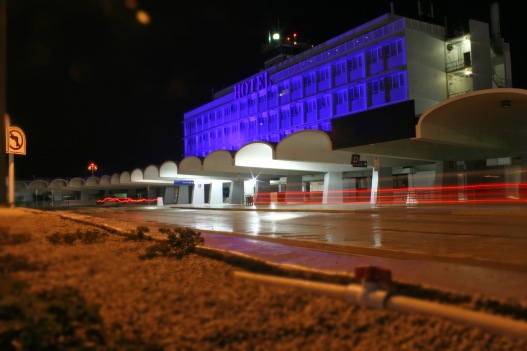
(Photo by Axel Santiago, License CC)
Set your camera to M (Manual mode) then set the aperture to an appropriate value, it all depends on the weather or time you are taking the picture.
Step 4 (Optional) Add your Neutral Density (ND filter), maybe you will not be able to see through the viewfinder or the Live View. Do not worry, sometimes it happens, you can’t see, but your camera will see everything perfectly.

(Photo by LovingLamprey, License CC)
Step 5: Set the time that your shutter will be open, I recommend that you start on 30 seconds and see how it go and if is overexposed then you decrease the time or decrease the aperture, managing the Iso is the last option.

(Photo by elluchador.info, License CC)
Step 6: Take the picture
Related Posts
Warning: Trying to access array offset on value of type bool in /home/avunque/public_html/inf103.com/wp-content/themes/mesocolumn/lib/functions/theme-functions.php on line 502

De Puro Romance.
Warning: Trying to access array offset on value of type bool in /home/avunque/public_html/inf103.com/wp-content/themes/mesocolumn/lib/functions/theme-functions.php on line 502

A mí me descuidas un minuto y…
Warning: Trying to access array offset on value of type bool in /home/avunque/public_html/inf103.com/wp-content/themes/mesocolumn/lib/functions/theme-functions.php on line 502
